|
|
||||||||||||||||||||
 |
||||||||||||||||||||
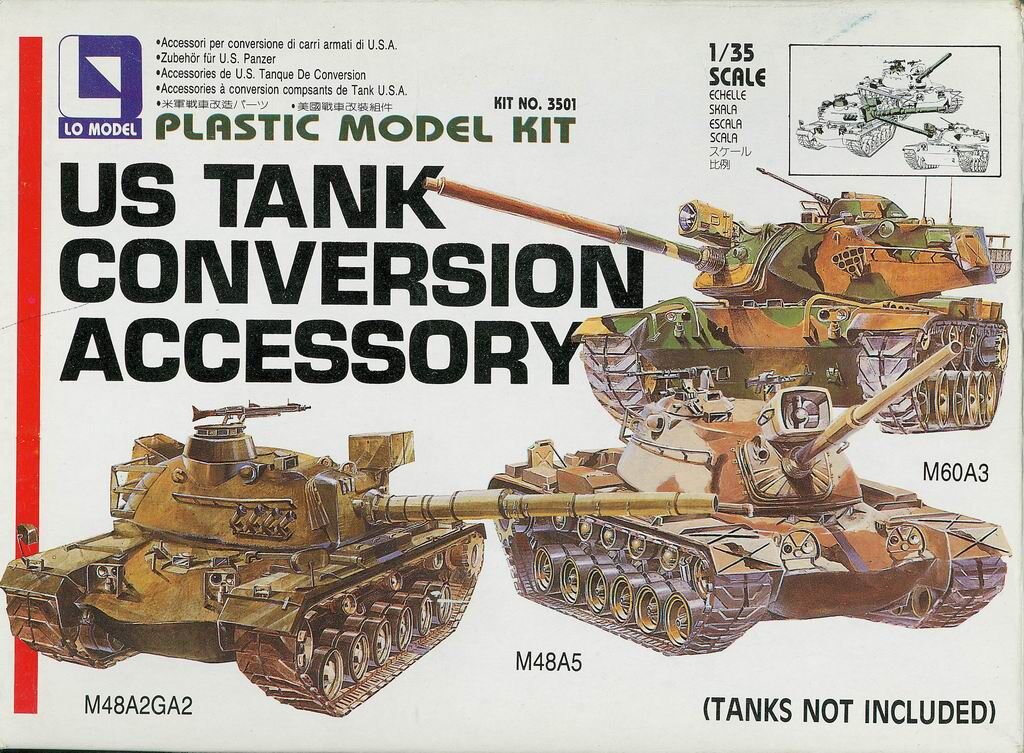
Building a Bundeswehr M48A2GA2 I built the lower hull as per the instructions, except for one aspect. The M48A2GA2 has only three return rollers, so the second and fourth return roller supports were cut off and the holes filled. Oh, and of course, those pesky motorization holes needed to be filled, as usual. I left the tracks off until the model was painted. This may seem odd, as I used the kit supplied tracks, but they are easy to put on at that time. For the most part, the upper hull was built as per the instructions. A major bit of conversion came with the engine deck. I didnÔÇÖt have one of the old Monogram M48A2 kits to swipe one from, so I went about it the hard way. The proper term escapes me, but the first grill sections just behind the turret are wrong for this variant. I cut them out (not an easy task!) and replaced them with sections of the grill from an old Chieftain hull I had. Hey! They matched, ok? After blending the new sections in, I moved to the next step ÔÇô the air cleaner assemblies. Once again, they do not apply to this variant, so they must be left off. Be sure to fill in the mounting holes and shear off the mounting pins. The blank spaces should be filled with pioneer tools. One item not present in the Lo Models set, is the guard for the new placement of the horn on the right-side fender. I used a piece of photo-etched brass for this. The remainder of the upper hull was converted using parts from the Lo Models kit. This out-of-production
kit is not that easy to come by. However, as the parts are cleanly molded and fairly accurate, they are a
big asset in a conversion such as this. Hull parts included are the new style headlights and their guards,
the rear-view mirrors, and a replacement infantry phone. The Bundeswehr mounted the tow cables on the
hull, rather than the turret, so the mounting hooks included in the kit just wonÔÇÖt work. I located several
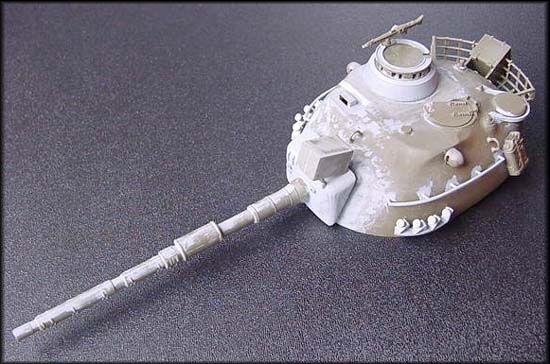
from my ÔÇťsparesÔÇŁ box, and mounted them in their corresponding positions on each side. The Tamiya kit supplies you with string for the tow cables, but I op The most striking difference between the U.S. M48A2, and the German M48A2GA2, is the replacement of the 90mm tank gun with a 105mm gun. The Lo Models set supplies you with a rather nice looking 105mm gun barrel with thermal shroud, as well as the new gun mantlet. The gun barrel is a bit different than most injection molded barrels. It comes in two halves, as usual, but it also has a peg that must be inserted into the end to mate with the Tamiya kit gun mount (part #D31). The space around the mantlet was covered with tissue soaked in water and white glue, to represent the dust cover. Additional parts included in the Lo Models set for the turret include the AEG Telefunken searchlight, Weggman smoke dischargers, and a rear turret storage box. The kit-supplied turret basket must have a section cut out for the mounting of the box. Careful measuring and test fitting was necessary for a proper fit. Well, thatÔÇÖs about it. Raid the ÔÇťsparesÔÇŁ box for some Bundeswehr markings, and youÔÇÖll have yourself a nice addition to your stable of ÔÇśPattonsÔÇÖ. This isnÔÇÖt really a difficult conversion, thanks to the Lo Models set. However, you might wish to add further detail by utilizing AFV ClubÔÇÖs individual chevron track links set, and possibly the Eduard photo-etched brass detail set. Whichever way you approach this project, I highly recommend the Lo Models conversion set - if you can find one, that is. |
|||||
 |
|||||
 ted for picture hanging wire to mate to the cable ends.